Short front cross carry is a poppable carry that can be done with a base -1 to base -4 depending on the wrap you use. This carry can be done with or without a ring. This will demonstrate how to do short front cross carry with a ring.
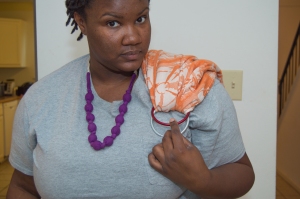
You will need one large sling ring (or medium if your wrap is thin) and your wrap to do this. I am using Smitten Lady Bird’s Bluebonnets.
Ring slings are so quick and easy to use! I keep one in my diaper bag and one in my car at all times because I never know when I will need it. In fact, one of my slings came in handy a couple weeks ago when I rushed my kids to a last minute doctor’s appointment and forgot Max’s shoes!
Today, I will be using a Bibetts pure linen ring sling in bamboo yellow to demonstrate a front/hip carry in a ring sling. I say front/hip because I wear my sling kinda off to the side–not exactly front or hip but in between. This is because when I wear directly on my hip, my back hurts and when I wear on the front, there is usually a head in my face after a certain size.
Sometimes this question will pop up: Ring sling or wrap? My answer to that question is BOTH. You can use two sling rings to turn your short wrap (size 2 or 3 for me…my base is an 8) to make a no-sew ring sling! Long explanation not needed here–a no-sew ring sling is just a ring sling that isn’t sewn together. It is secured the same way that a regular ring sling is secured, with sling rings!
This photo tutorial is going to show how to make the no-sew, but not how to put the child in the sling. The video at the bottom will show how to put the baby in! The photo ring sling tutorial is right here-ring sling tutorial.
Here is how to make the no-sew ring sling:
First, get your two sling rings (I am using size large) and your wrap (I am using a size 3 Bijou Wear Blast Firecracker).
Measure out how long you want your tail to be by wrapping the wrap around you with one side over your shoulder and the other across the front to meet the shoulder.
Gather the fabric at your shoulder by your collarbone and that spot is where you want your rings to be.
Pull the fabric through the rings.
Once you pull the fabric through both of the rings, pull the short end back through one of the rings (just like regularly threading a ring sling). Here’s a gif to show what I mean:
Put the sling on your shoulder now with the short fabric tail under the long tail that you will be working with. Make sure that the top ring is further back than the bottom one. I’m pointing to it in that picture up there.
Now to thread the sling just like you normally do a ring sling! Gather the fabric in front of you (I pleat it).
Pull the fabric through both rings.
Very pretty right? At this point I let it all hang down to make sure my fabric is not twisted.
Thread the fabric through the bottom ring.
Take your fingers through the threaded fabric to make sure that it is not twisted.
It should make a cute looking puff of untwisted fabric.
Pull the fabric back the same direction that it came from to get the sling all secured.
Tada! Sling!
Tuck the extra hanging fabric from the beginning of the no-sew part of the sling in the spread back pass and you are done! Now you are ready to put your baby in the sling!
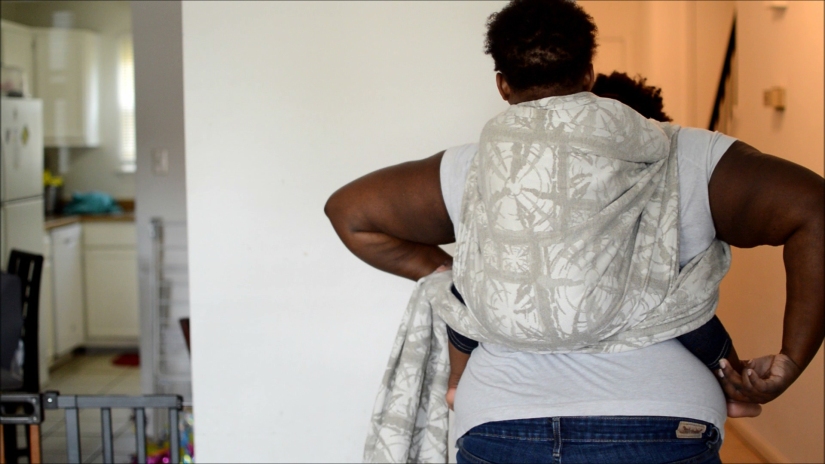
Maxine’s back carry was a mistake. I started to do a ruck but Max was so upset and sleepy that the carry was way off centered. I was so flustered at that point that I just wrapped the L O N G tail around me a couple times and Maxine instantly fell asleep. The carry kept her in place so well! I use MBC all the time now.
This carry requires base minus one (-1) or longer.
Here is how to do it!
You will start the wrap way off center so that the short tail hangs about to the middle of your hip and shoulders. Basically enough to make a candy cane chest belt.
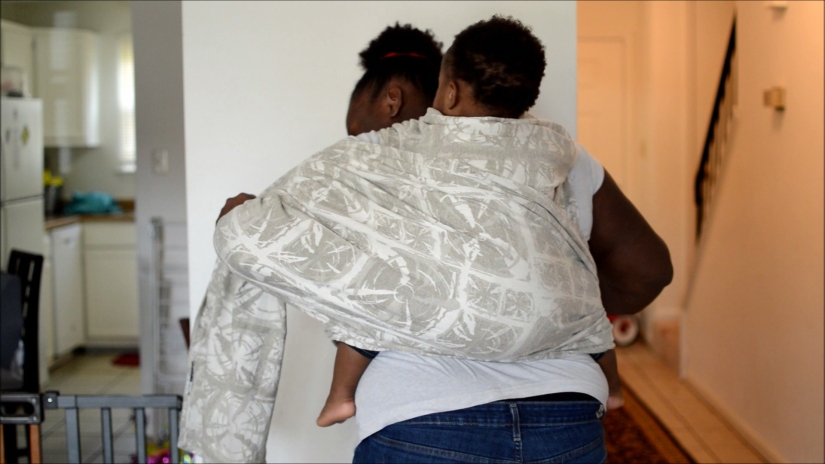
Get baby on your back. Give them a distraction too…Maxine has a remote here.
Pin the wrap under your chin (or with your teeth if that’s your thing).
Make a seat that is spread knee to knee. Hammock for kiddo to sit in.
Gather and tighten the short side of the wrap. Pin it under your chin.
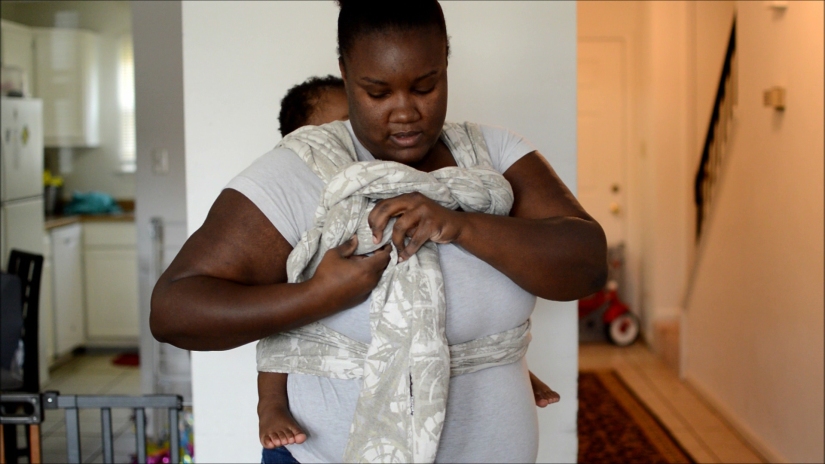
Working with the long side now, tighten then bring the bunched pass over both legs.
Bring the bunched pass in front of you to make a waist belt.
Now spread that pass over your back
Pull it tight. Be sure to pull all the slack out through the waist belt.
Carefully bring that pass under your arm
Give it one last tug to tighten.
Now do a candy cane chest belt!
I finish mine by bringing one tail through the ruck strap then I tie a single knot.
You can also finish with a sling ring or however else you finish a CCCB.
And that’s it! You did it!
Here is a video tutorial!
Tag your pictures of this carry with #maxsbackcarry so I can see you all rock it out!


You must be logged in to post a comment.