
Sometimes this question will pop up: Ring sling or wrap? My answer to that question is BOTH. You can use two sling rings to turn your short wrap (size 2 or 3 for me…my base is an 8) to make a no-sew ring sling! Long explanation not needed here–a no-sew ring sling is just a ring sling that isn’t sewn together. It is secured the same way that a regular ring sling is secured, with sling rings!
This photo tutorial is going to show how to make the no-sew, but not how to put the child in the sling. The video at the bottom will show how to put the baby in! The photo ring sling tutorial is right here-ring sling tutorial.
Here is how to make the no-sew ring sling:

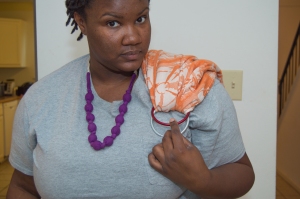
First, get your two sling rings (I am using size large) and your wrap (I am using a size 3 Bijou Wear Blast Firecracker).

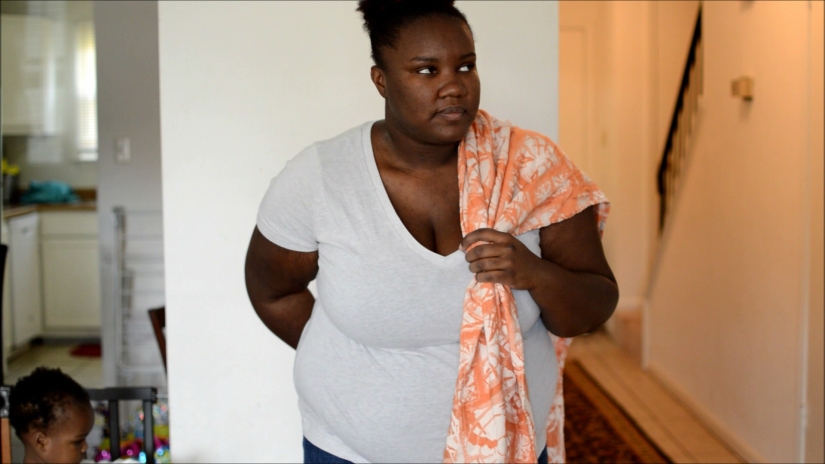
Measure out how long you want your tail to be by wrapping the wrap around you with one side over your shoulder and the other across the front to meet the shoulder.

Gather the fabric at your shoulder by your collarbone and that spot is where you want your rings to be.

Pull the fabric through the rings.

Once you pull the fabric through both of the rings, pull the short end back through one of the rings (just like regularly threading a ring sling). Here’s a gif to show what I mean:
Hopefully that helped explain what I meant!
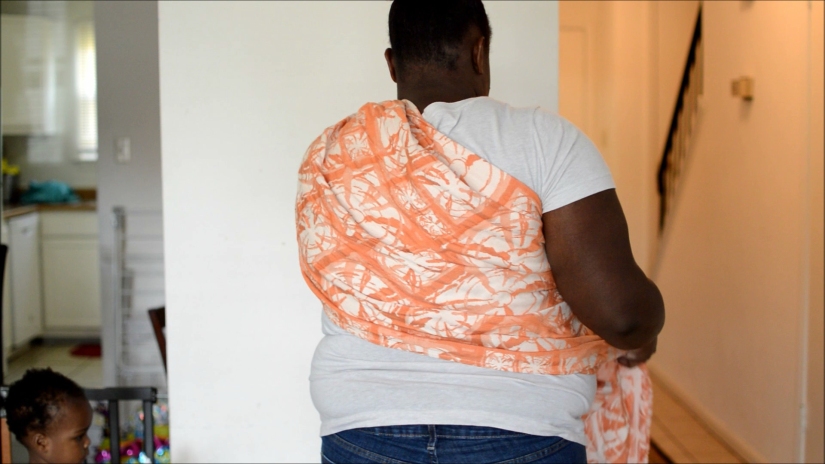
Put the sling on your shoulder now with the short fabric tail under the long tail that you will be working with. Make sure that the top ring is further back than the bottom one. I’m pointing to it in that picture up there.

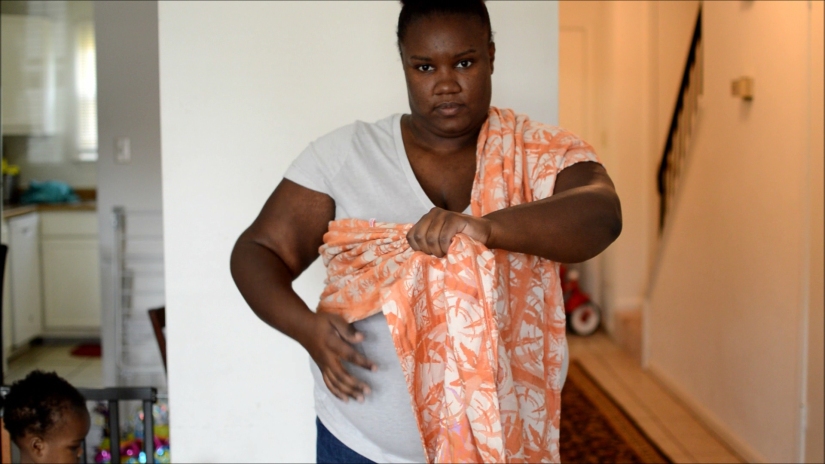
Now to thread the sling just like you normally do a ring sling! Gather the fabric in front of you (I pleat it). 
Pull the fabric through both rings.

Very pretty right? At this point I let it all hang down to make sure my fabric is not twisted.

Thread the fabric through the bottom ring.

Take your fingers through the threaded fabric to make sure that it is not twisted.

It should make a cute looking puff of untwisted fabric.

Pull the fabric back the same direction that it came from to get the sling all secured.

Tada! Sling!

Tuck the extra hanging fabric from the beginning of the no-sew part of the sling in the spread back pass and you are done! Now you are ready to put your baby in the sling!
 Maxine always loves going uppy front.
Here is the video:


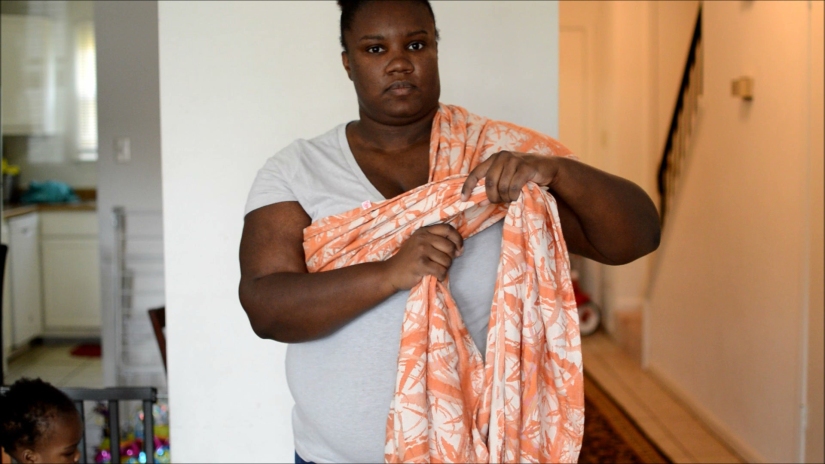 Bring the wrap over the tail that is hanging over your shoulder.
 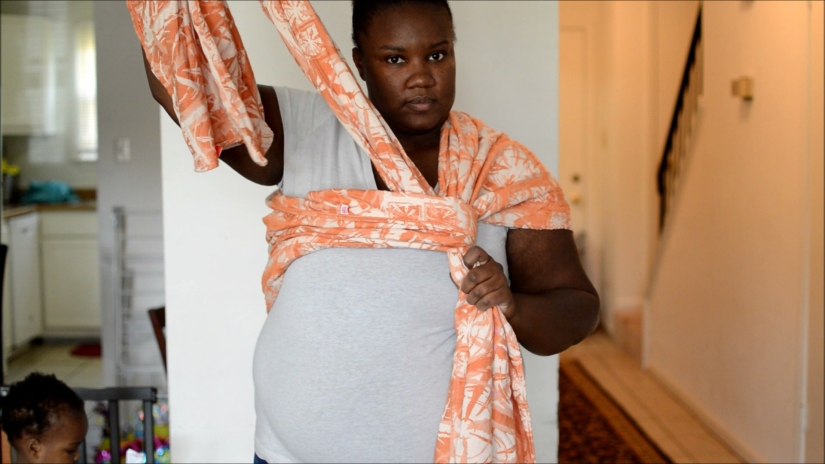 Take that around and behind the hanging tail, and up.
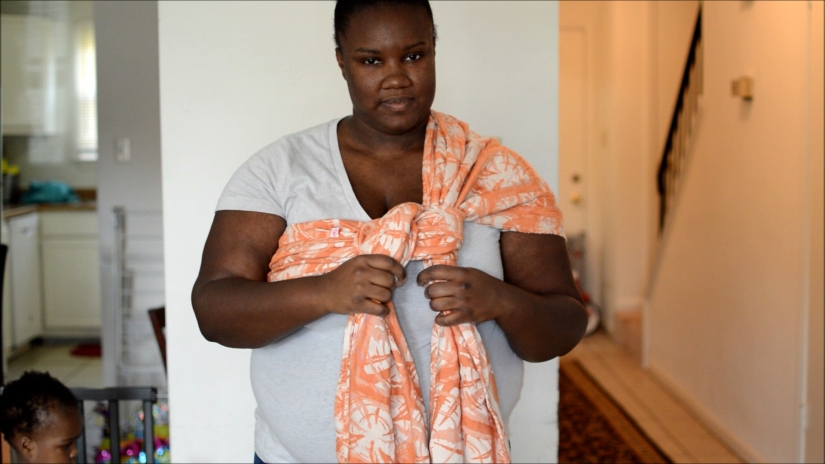 Bring the wrap down.
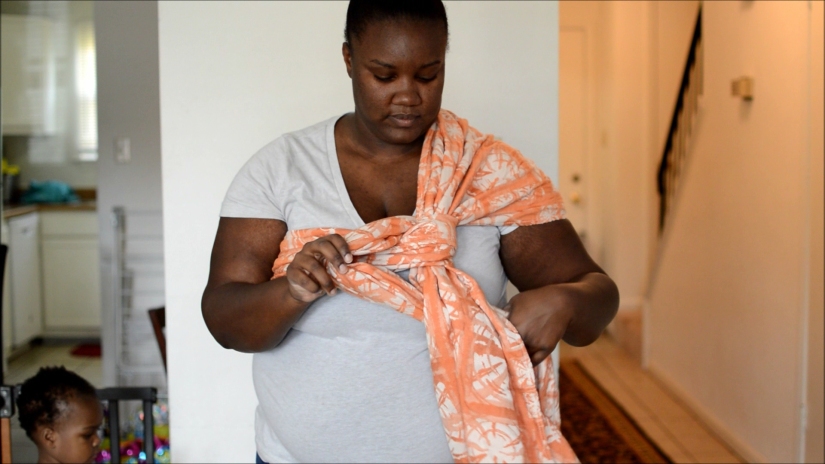 Make a number 4 shape with the wrap. The side you are working with should go *behind* the tail.
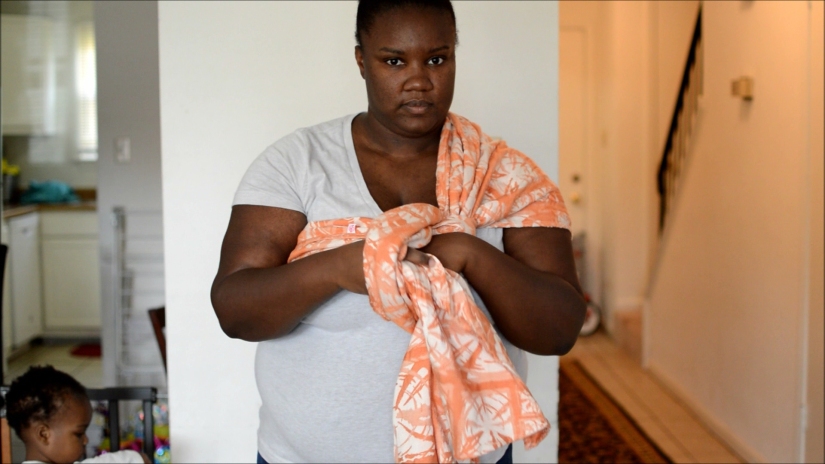 Bring the end of the wrap around and through the hole that was made by that 4 shape.
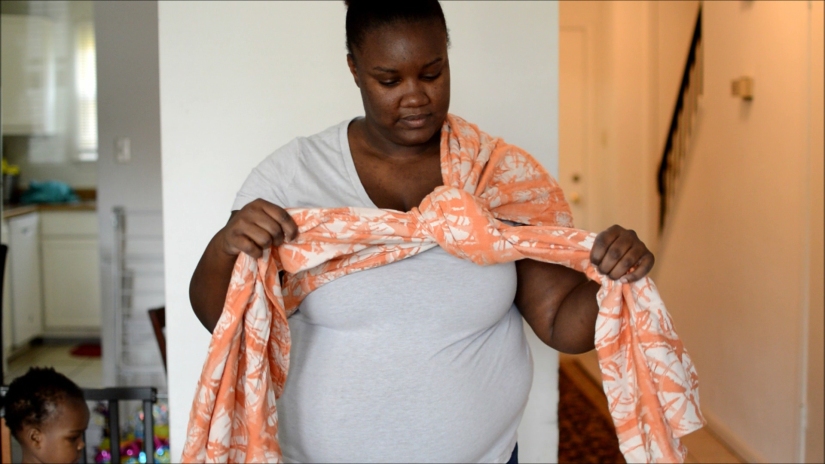 Pull, and there is your slipknot! Do not pull it too tight yet.
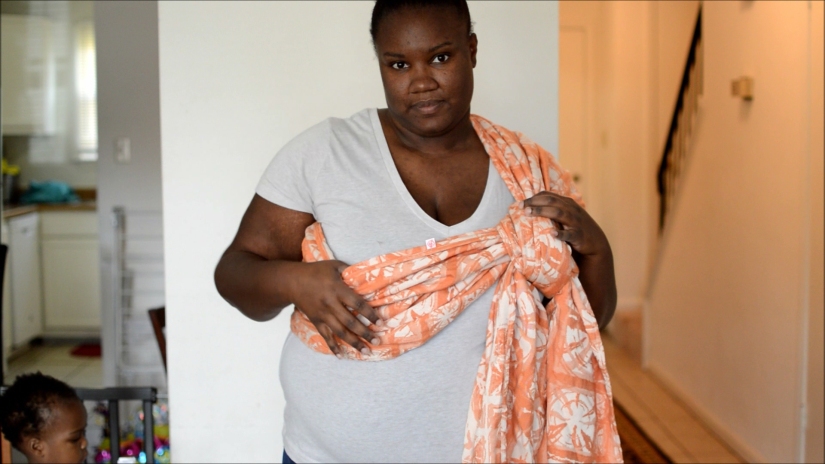 Now you’re ready for your child.
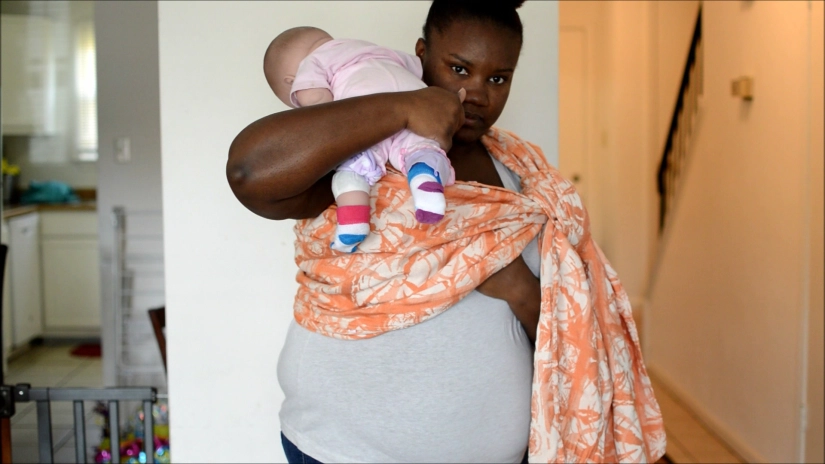 Place baby on your shoulder in the burp position. Reach through the bottom of your pocket and gently grab baby’s ankles. Gently bring the carrier over the baby with the feet and ankles out at the bottom.
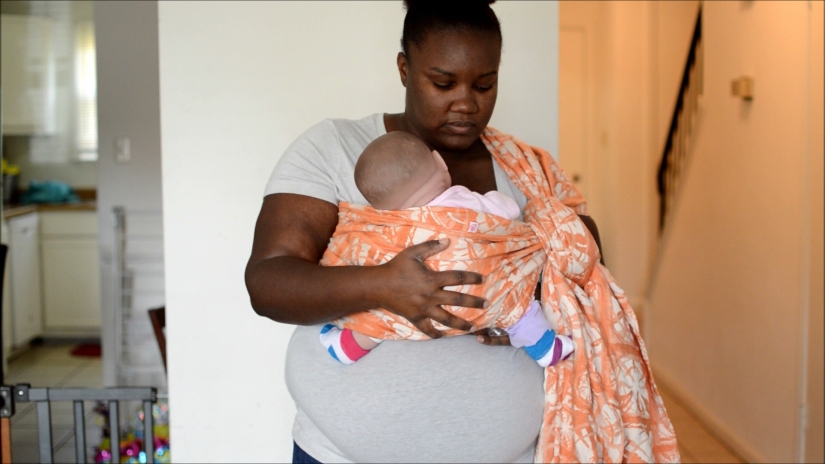 Make a hammock for baby to sit in with fabric knee to knee. Baby should be in an “M” position with knees higher than their bottom.
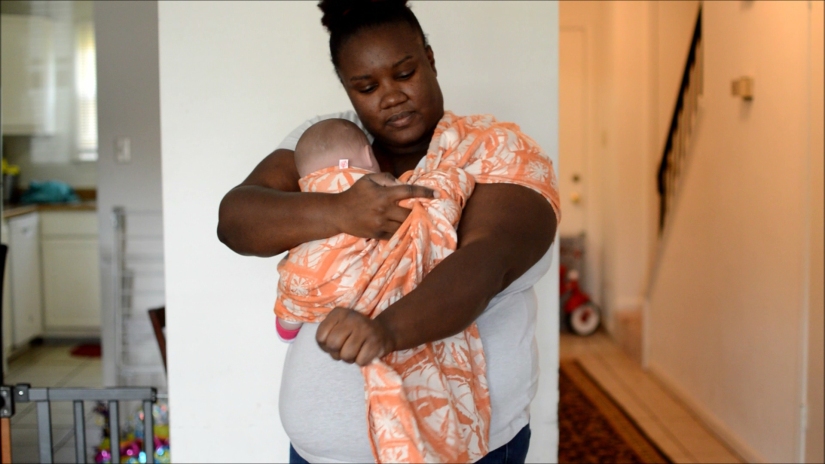 Now pull all slack (loose fabric) out of the wrap through the knot by pulling the tail strand by strand. That means to pull the fabric little by little firmly so that it is snug.
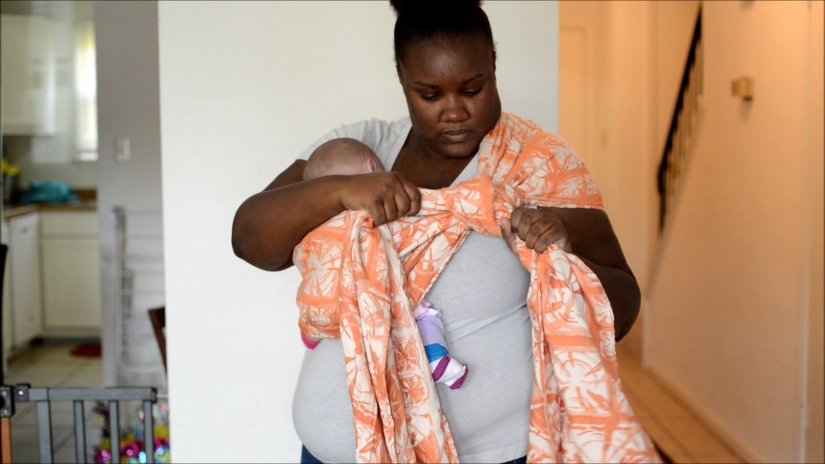 Once all of the slack is out, you can pull the slipknot tight to lock everything in place.
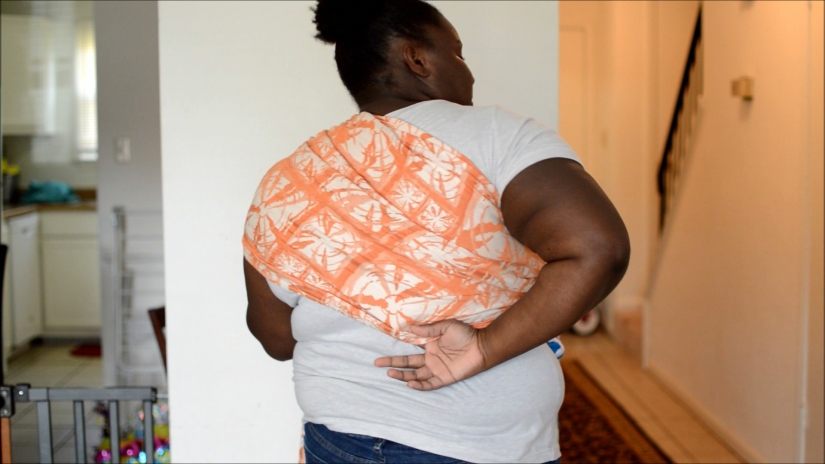 Make sure the fabric is spread out over your back!
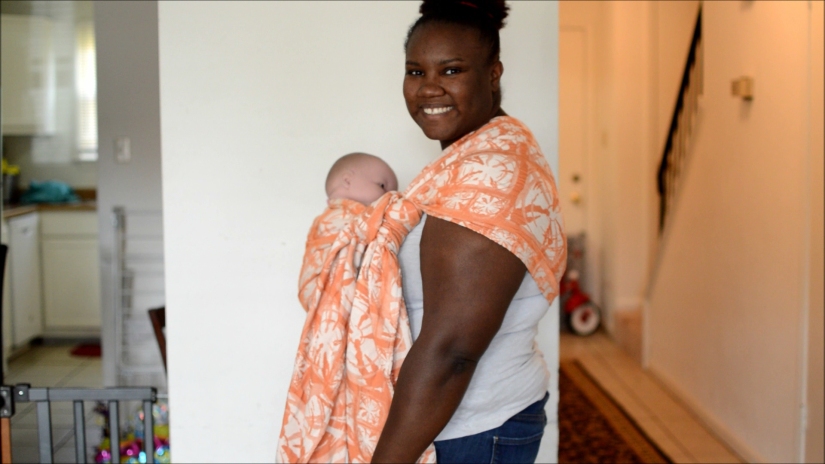 Congratulations! You have completed the traditional sling carry!!
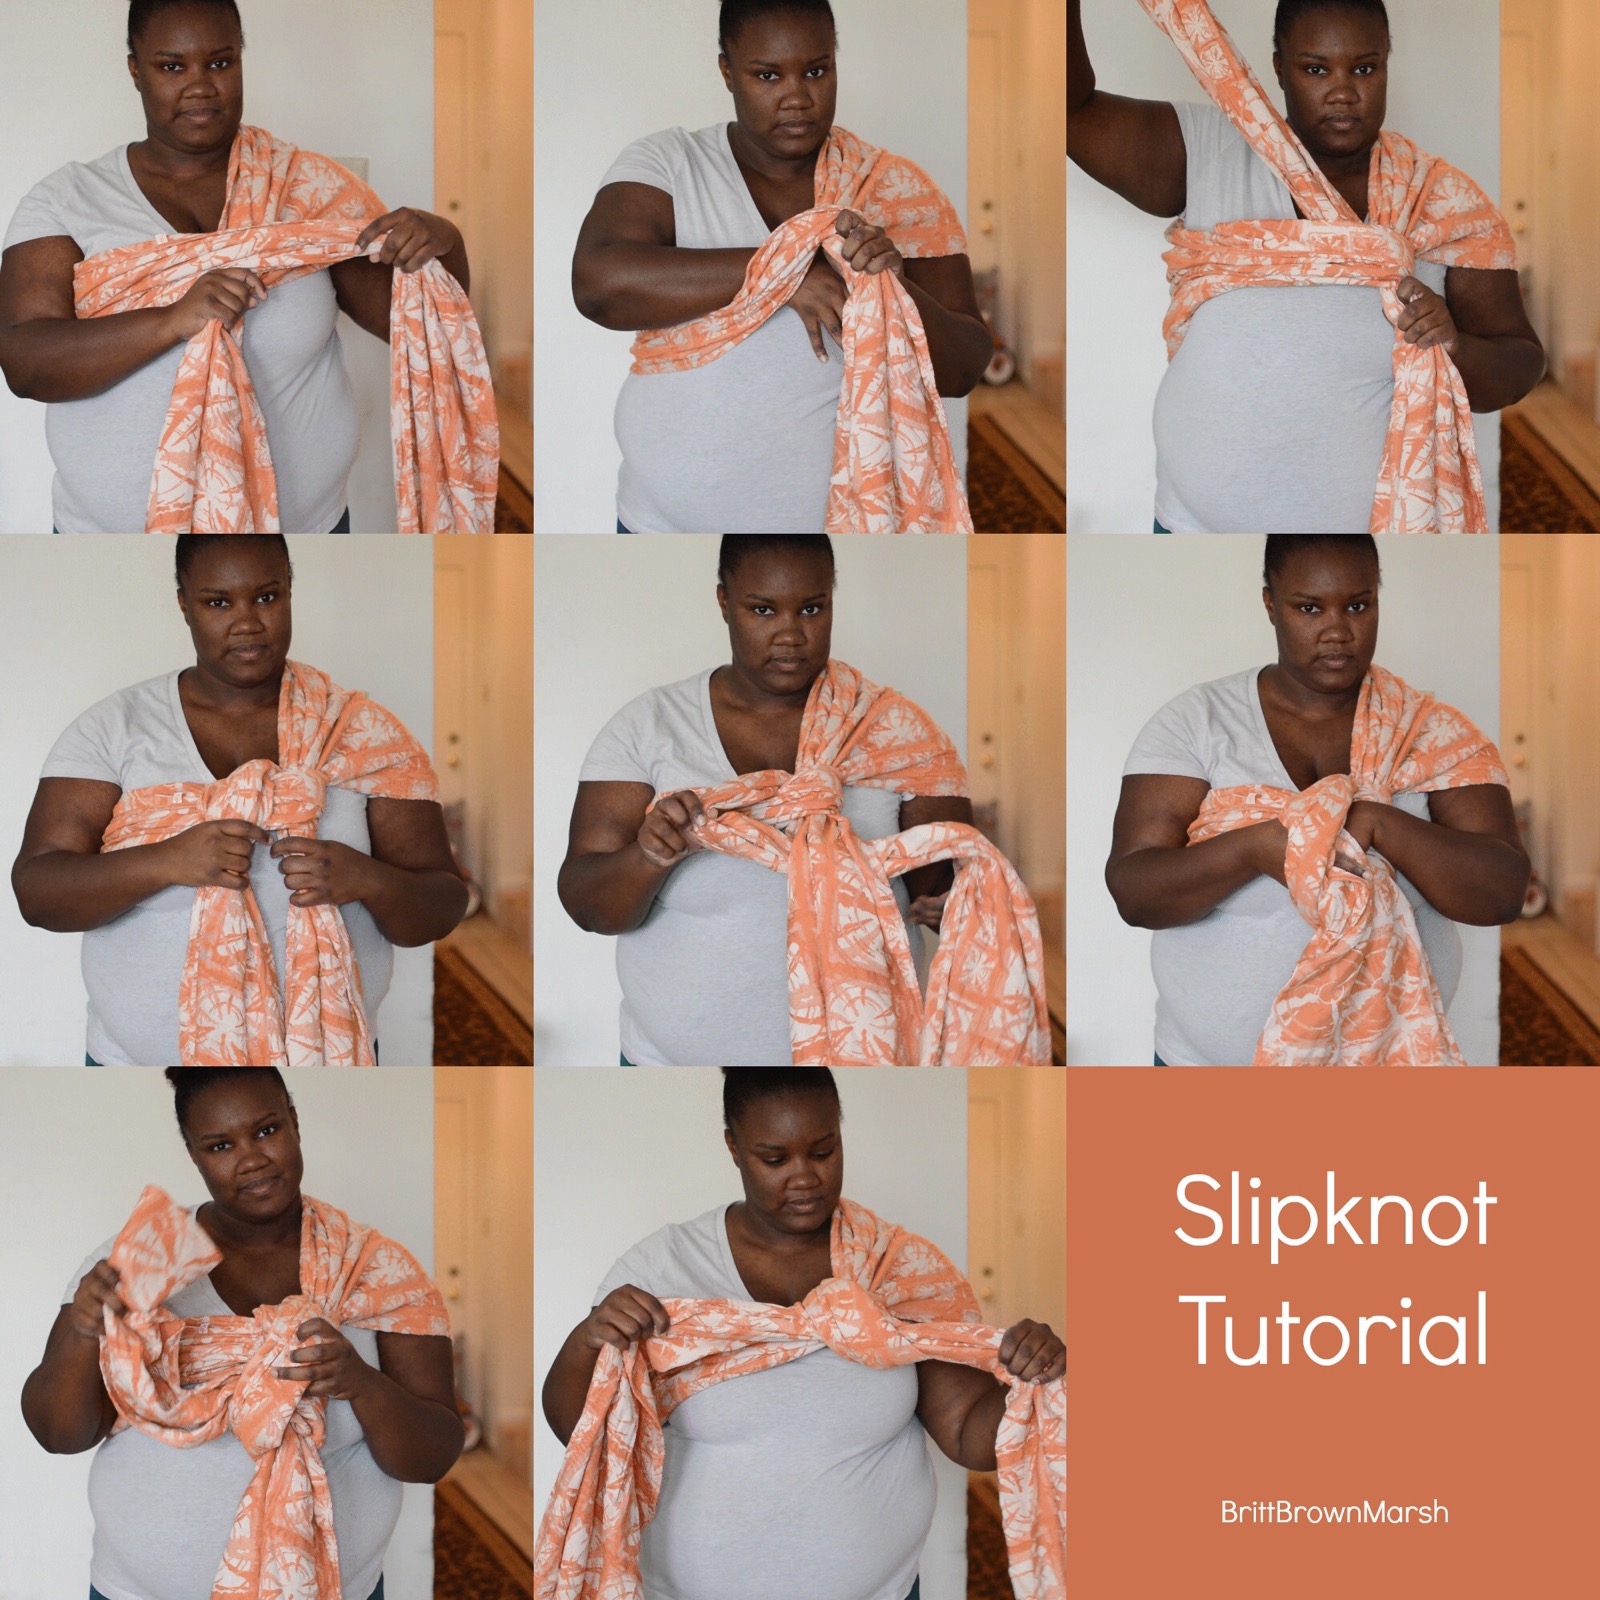


You must be logged in to post a comment.