
Woven Wraps are my favorite items to use for carrying Maxine around. One of my favorite quick carries to use with her is the traditional sling carry. This is done with a size base -3 to -6 wrap depending on your base size.

How to do the traditional sling carry!
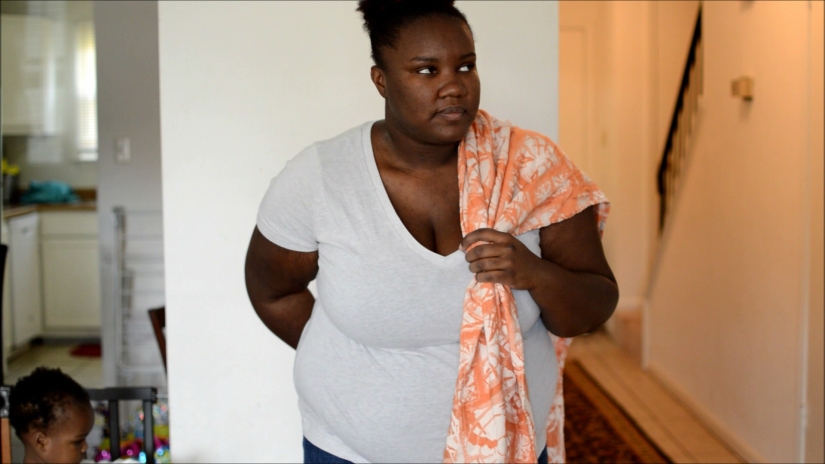 Gather the wrap on your shoulder
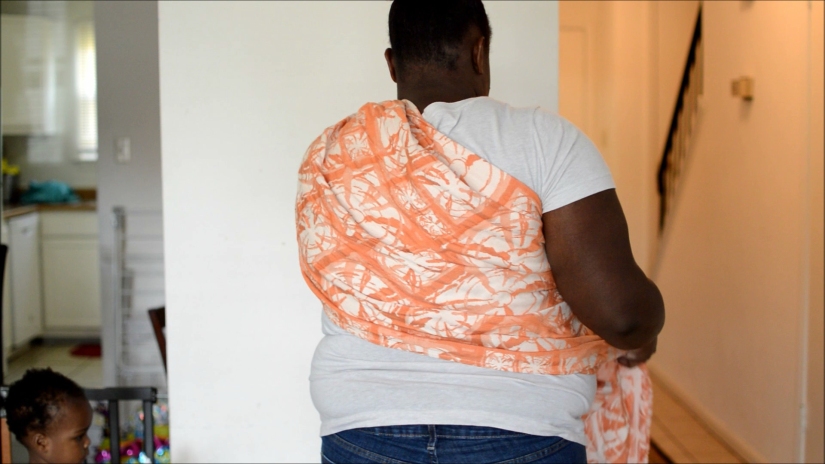 Bring the wrap across your back.
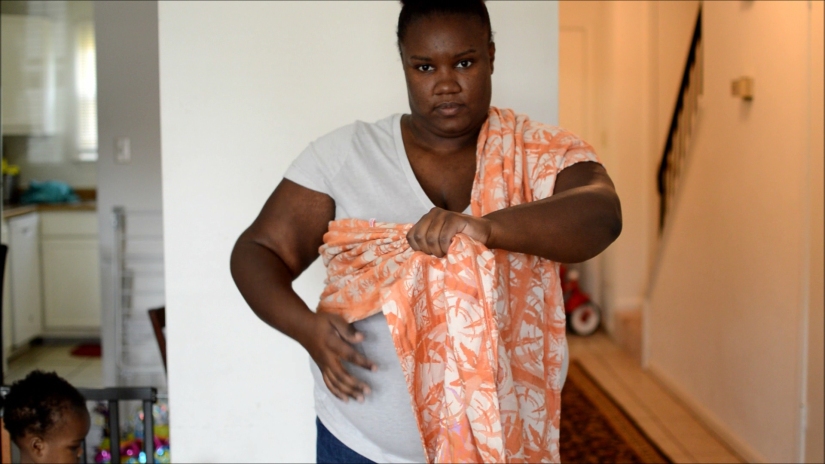 Gather the side that you pulled behind you in front by bunching in your hand.
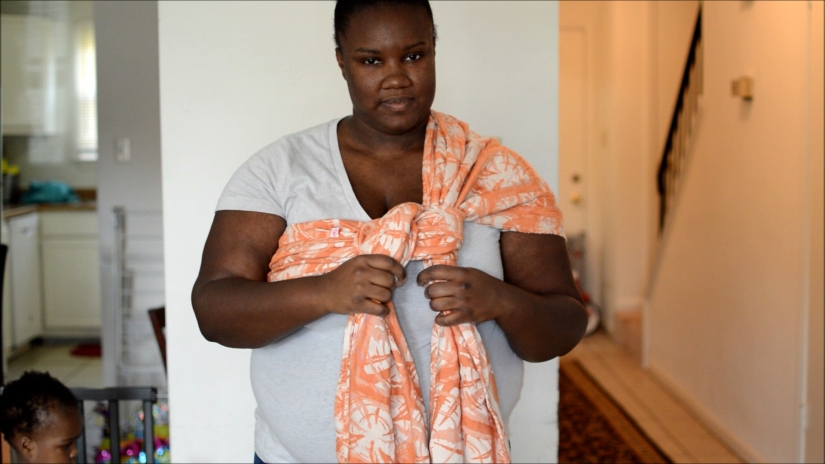
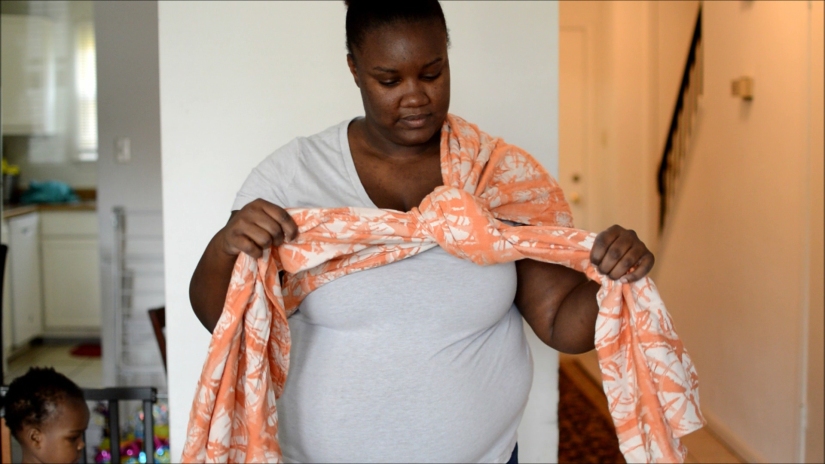
Now for the slipknot. This seems harder than it actually is.
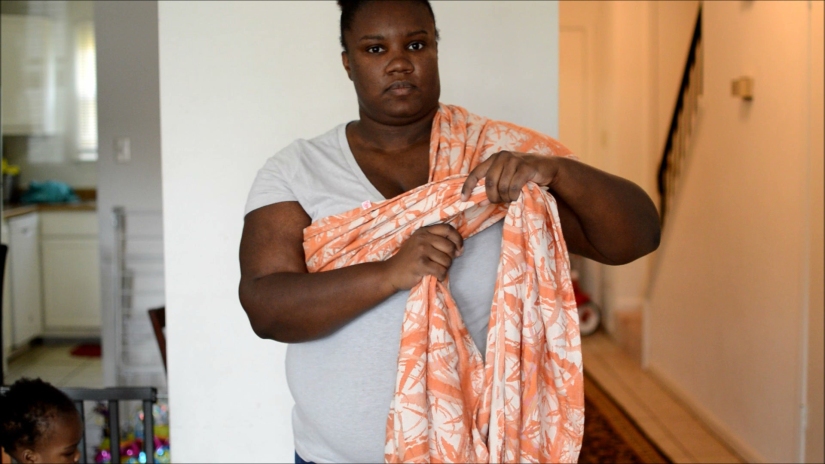 Bring the wrap over the tail that is hanging over your shoulder.
 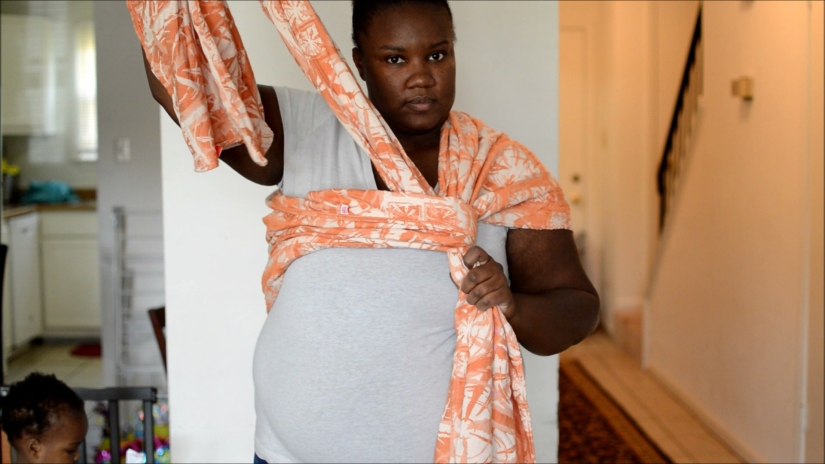 Take that around and behind the hanging tail, and up.
 Bring the wrap down.
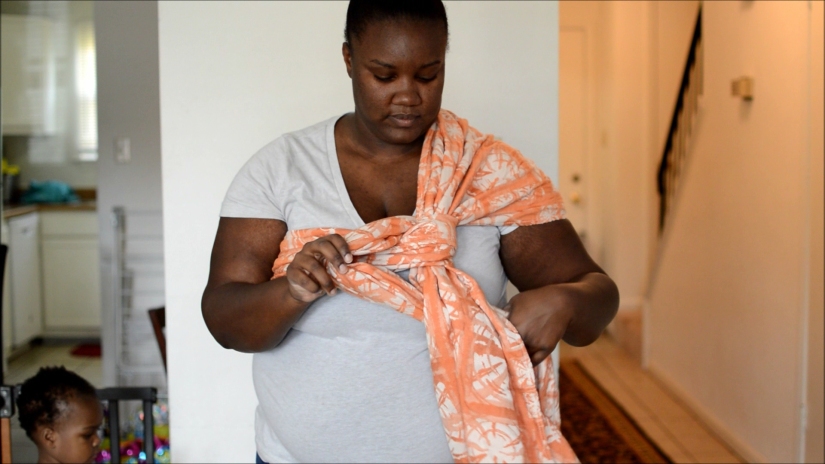 Make a number 4 shape with the wrap. The side you are working with should go *behind* the tail.
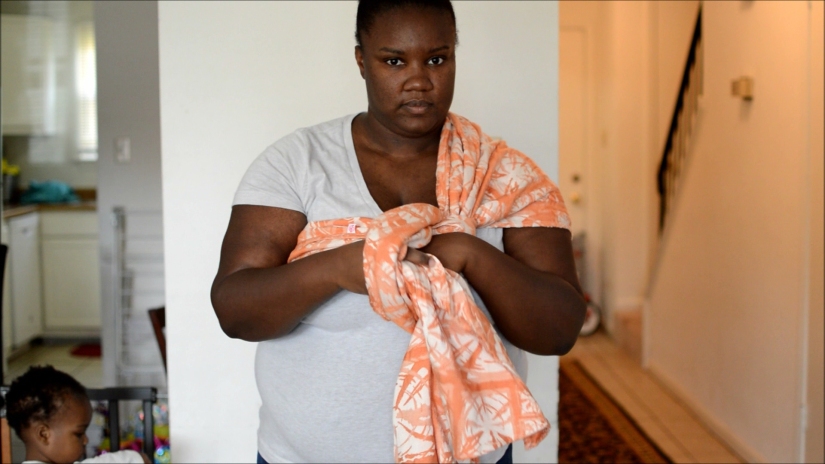 Bring the end of the wrap around and through the hole that was made by that 4 shape.
 Pull, and there is your slipknot! Do not pull it too tight yet.
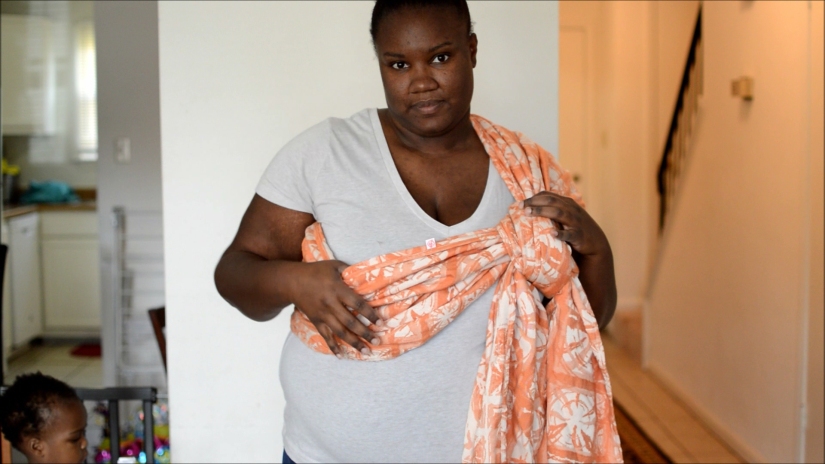 Now you’re ready for your child.
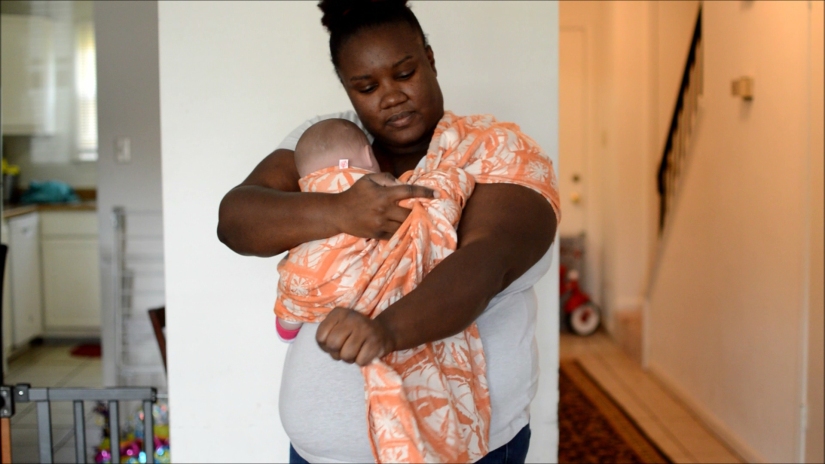
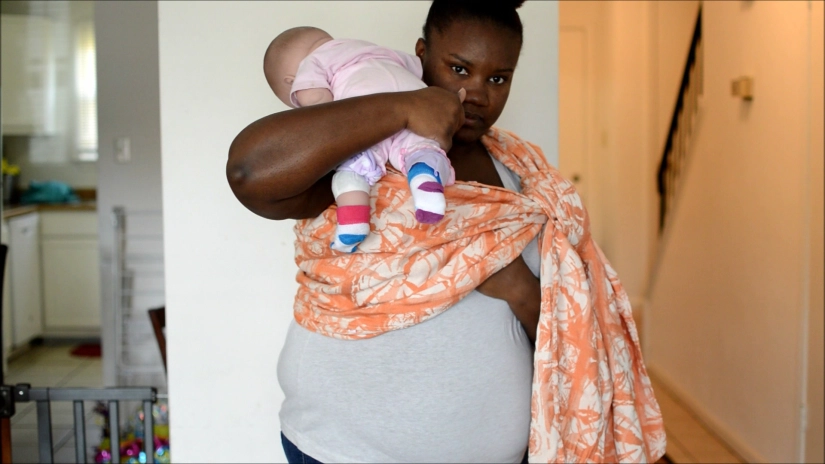 Place baby on your shoulder in the burp position. Reach through the bottom of your pocket and gently grab baby’s ankles. Gently bring the carrier over the baby with the feet and ankles out at the bottom.
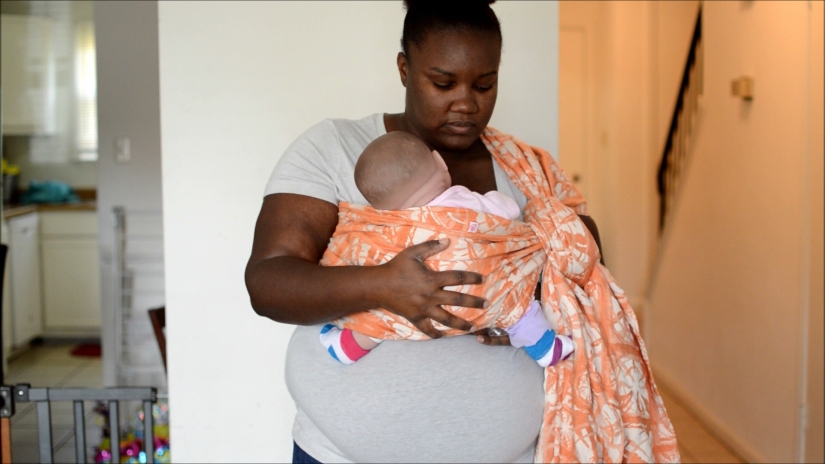 Make a hammock for baby to sit in with fabric knee to knee. Baby should be in an “M” position with knees higher than their bottom.
 Now pull all slack (loose fabric) out of the wrap through the knot by pulling the tail strand by strand. That means to pull the fabric little by little firmly so that it is snug.
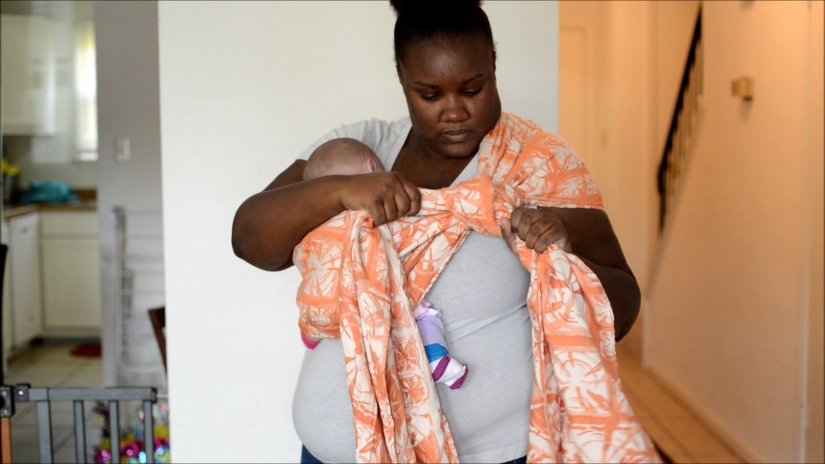 Once all of the slack is out, you can pull the slipknot tight to lock everything in place.
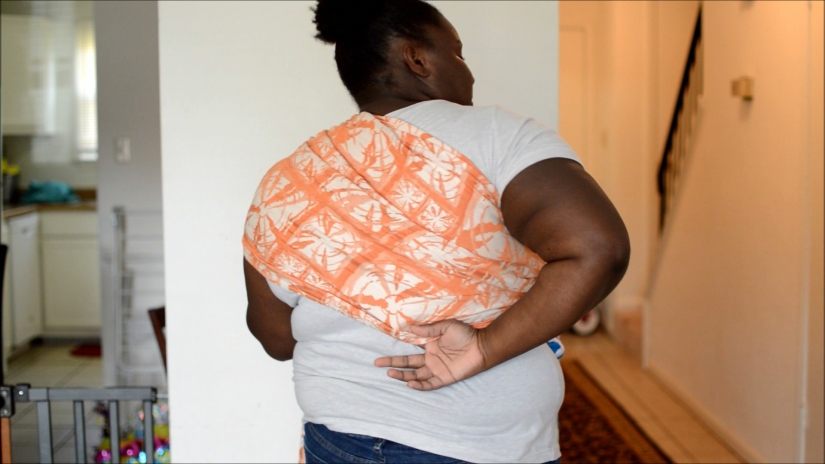 Make sure the fabric is spread out over your back!
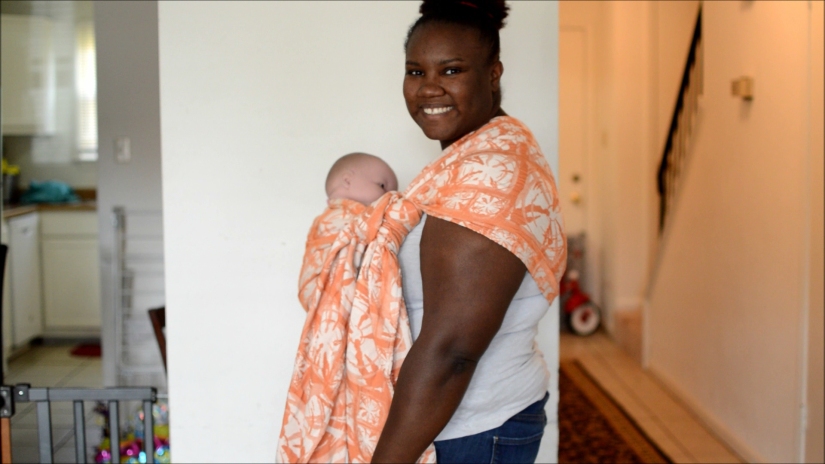 Congratulations! You have completed the traditional sling carry!!
Be sure to show me your traditional sling carry on the Britt Brown Marsh Blog Facebook page!
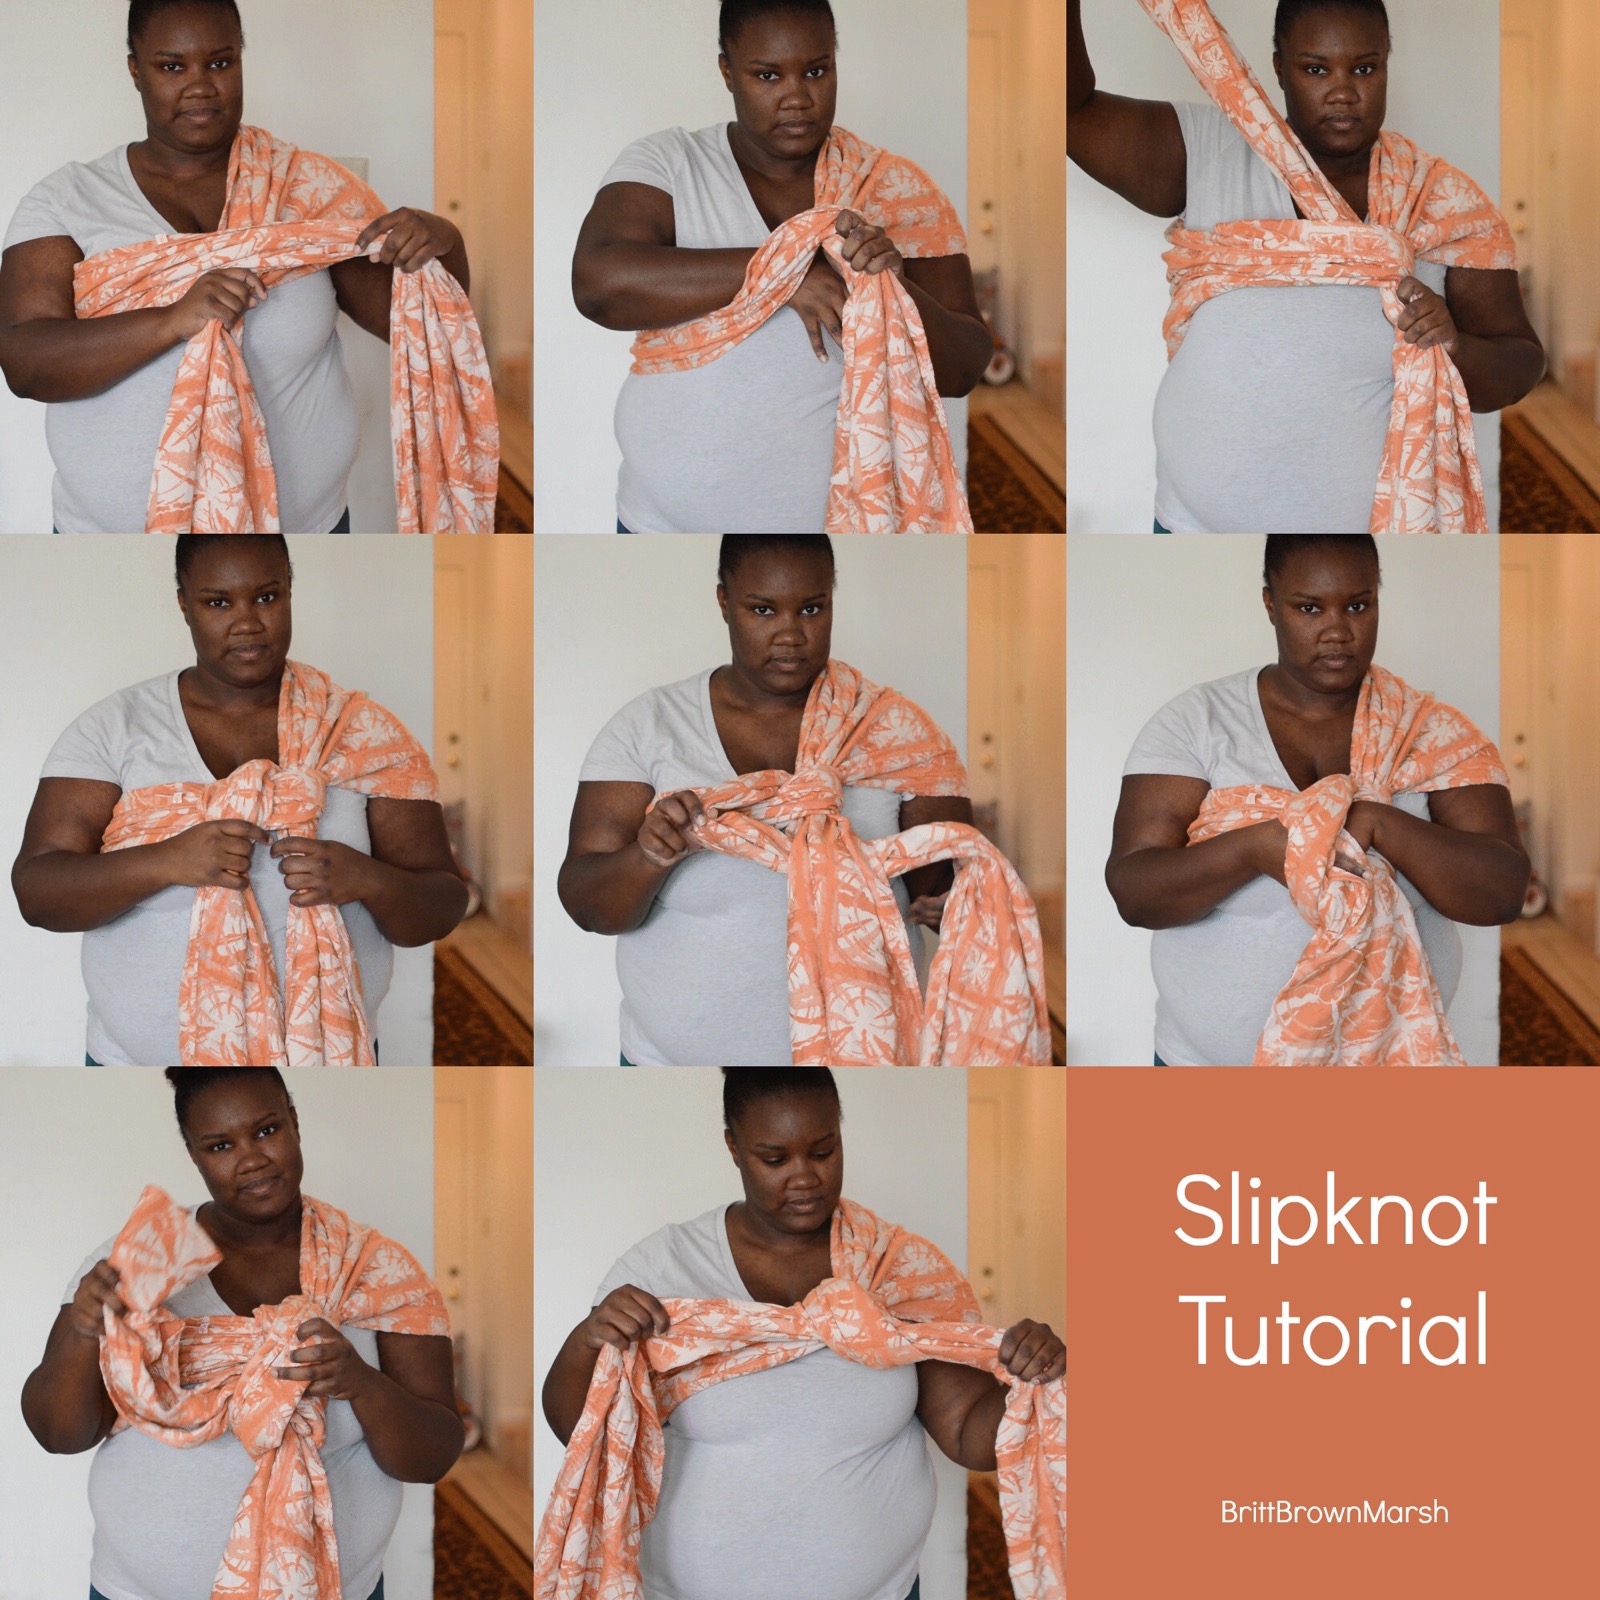
Here is a handy graphic to help you remember how to make a slipknot. Share it with your friends!


You must be logged in to post a comment.